 Hyundai Elantra CN7: Rear Seat
Components and components location
| Components |
[General type]
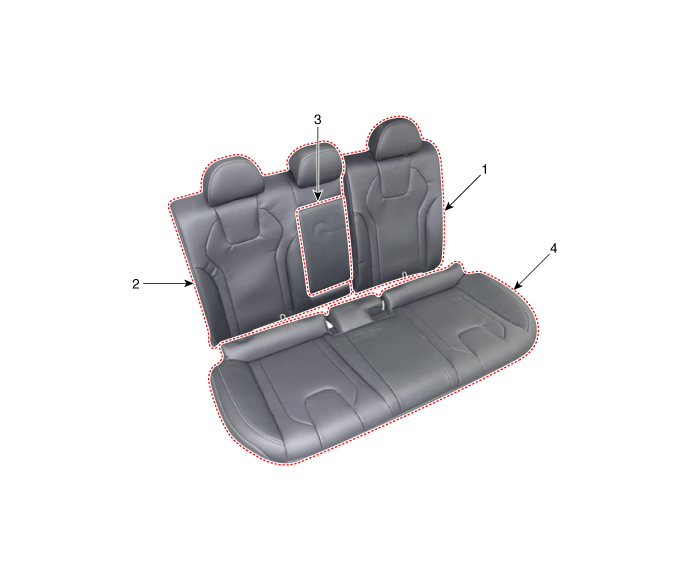
| 1. Rear seat back assembly [LH] 2. Rear seat back assembly [RH] | 3. Rear seat back armrest 4. Rear seat cushion assembly |
[General type]
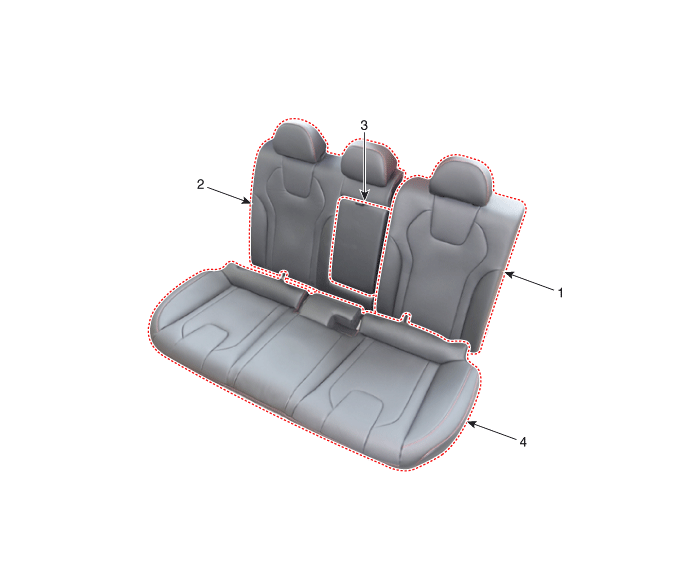
| 1. Rear seat back assembly [LH] 2. Rear seat back assembly [RH] | 3. Rear seat back armrest 4. Rear seat cushion assembly |
Rear Seat Assembly
Components and components location
| Component Location |
[General type]
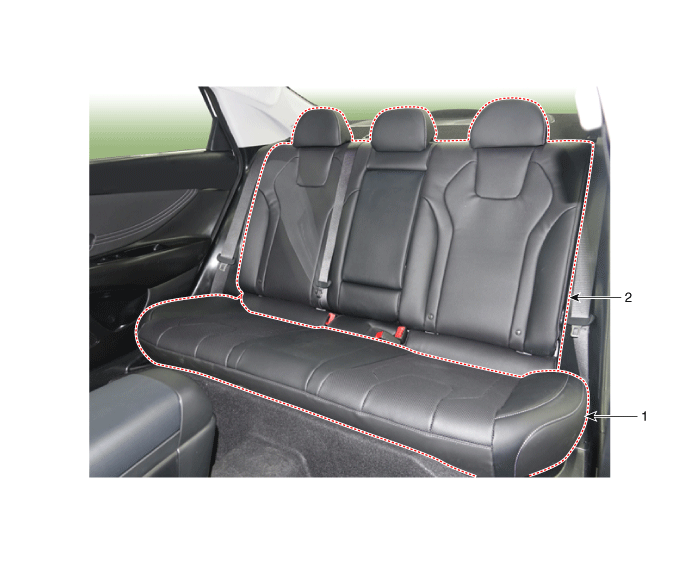
| 1. Rear seat cushion assembly | 2. Rear seat back assembly |
[N Line]
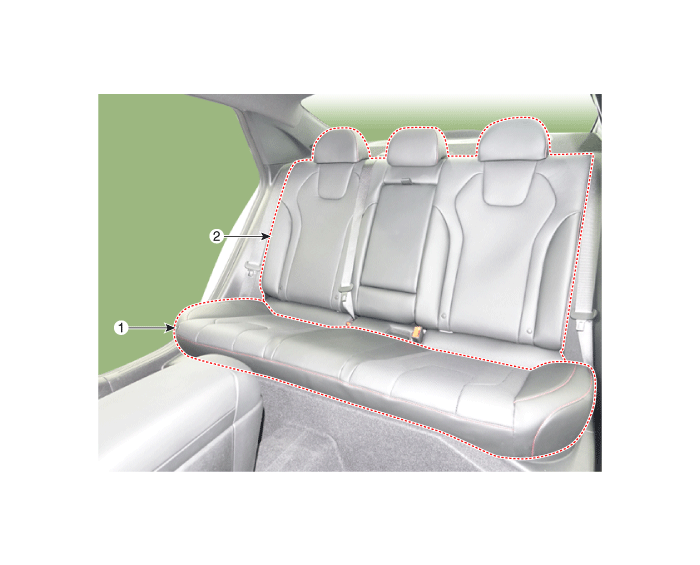
| 1. Rear seat cushion assembly | 2. Rear seat back assembly |
Repair procedures
| Replacement |
[Rear seat cushion assembly]
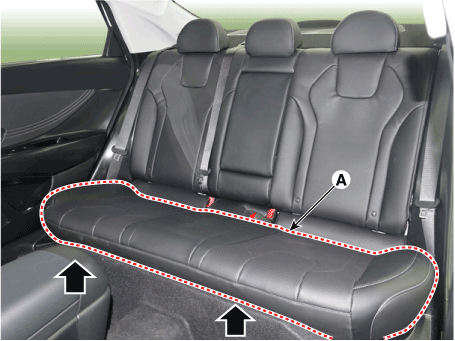
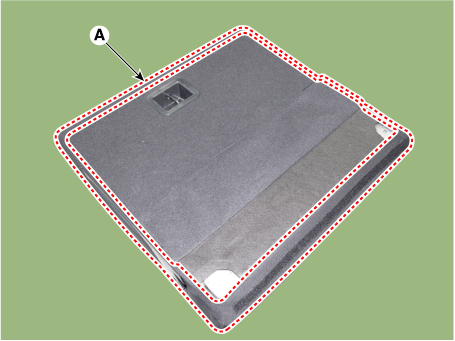
| 1. | Loosen the mounting bolts, remove the rear seat cushion assembly (A).
|
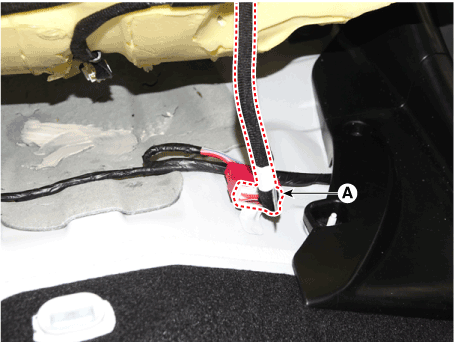
| 2. | Disconnect the rear seat cushion connector (A).
|
| 3. | To install, reverse the removal procedure.
|
[Rear seat back assembly]
| 1. | Remove the rear seat cushion assembly. (Refer to Rear Seat - "Rear Seat Assembly") |
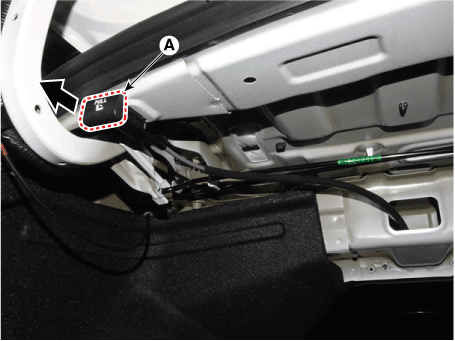
| 2. | Fold the rear seat back assembly (A) by pulling the folding lever in the direction of the arrow.
|
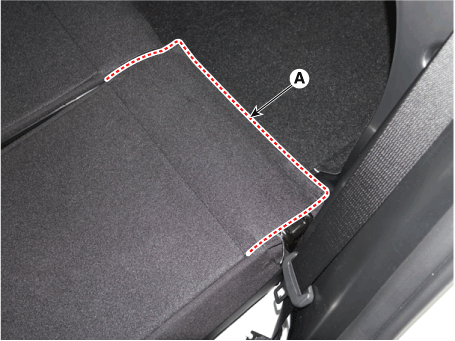
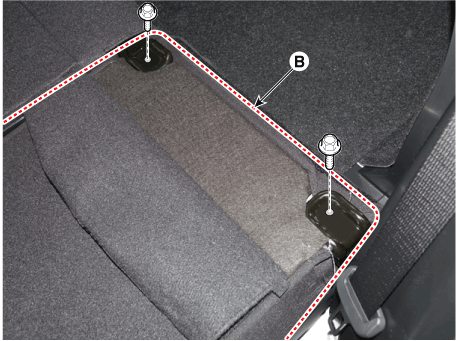
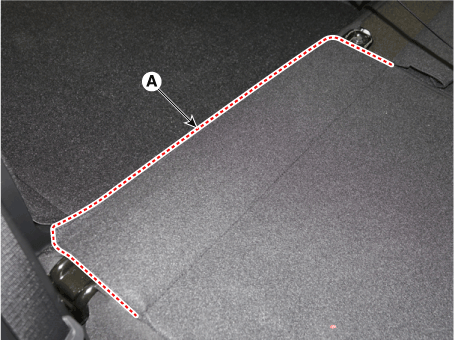
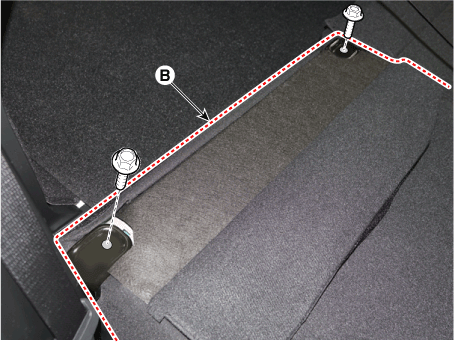
| 3. | Separate the rear seat cover (A), loosen the mounting bolts and remove the rear seat assebmly (B).
[LH]
[RH]
|
| 4. | To install, reverse the removal procedure. |
Rear Seat Back Cover
Components and components location
| Component Location |
[General type]
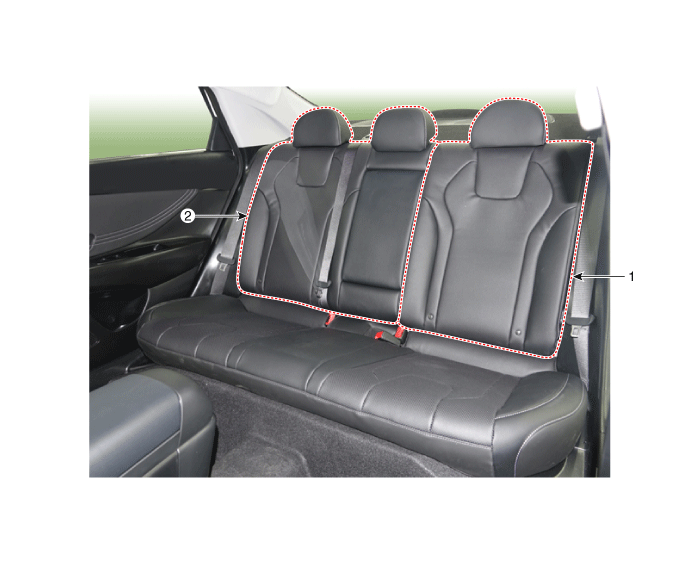
| 1. Rear seat back cover [LH] | 2. Rear seat back cover [RH] |
[N Line]
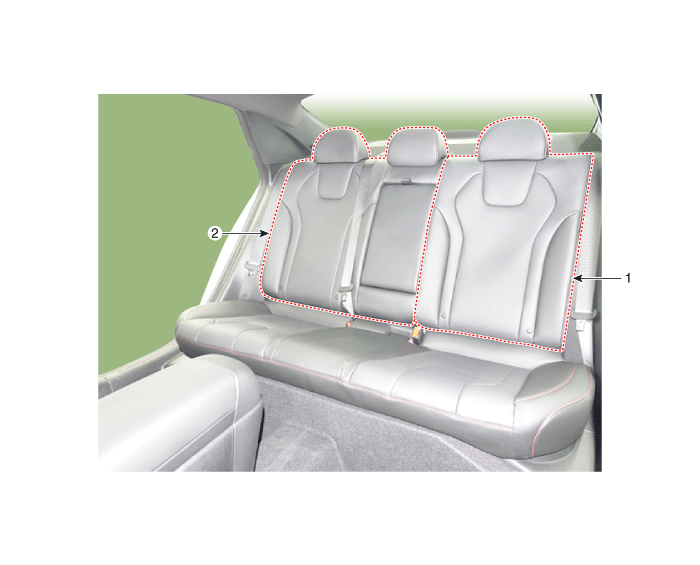
| 1. Rear seat back cover [LH] | 2. Rear seat back cover [RH] |
Repair procedures
| Replacement |
| [LH] |
|
| 1. | Remove the rear seat assembly [LH]. (Refer to Rear Seat - "Rear Seat Assembly") |
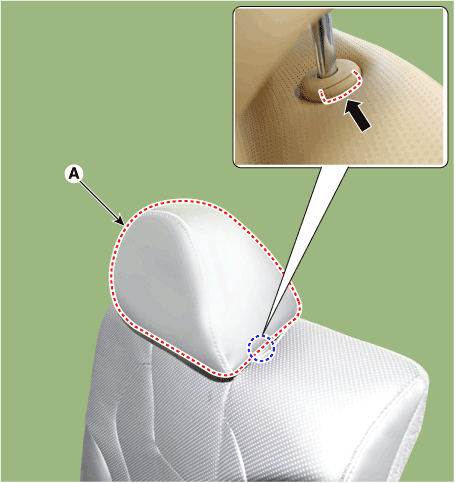
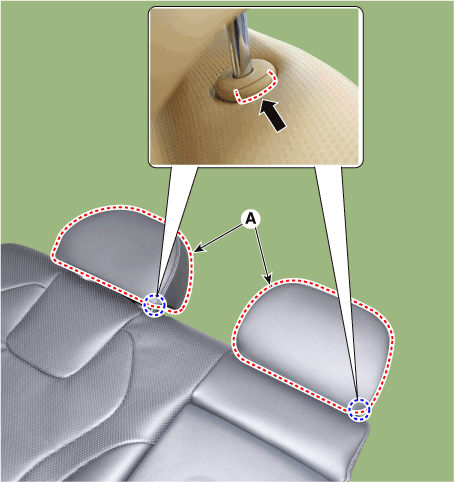
| 2. | Push the lock pin, remove the rear seat headrest (A).
|
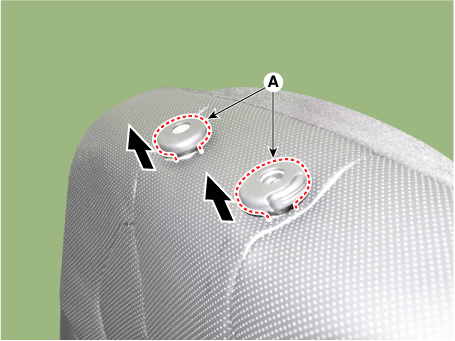
| 3. | Using a screwdriver or remover, remove the rear seat back cover (A).
|
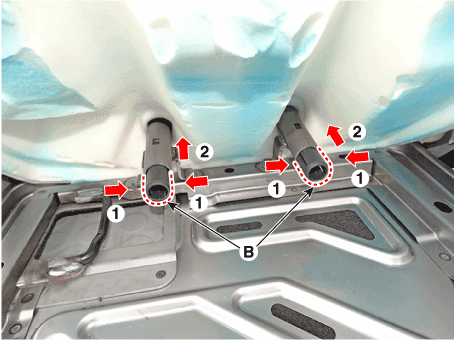
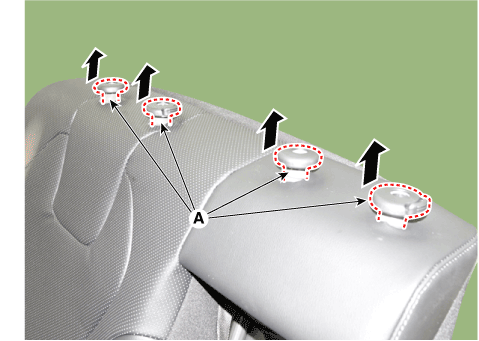
| 4. | Press the both hook (B) and remove the headrest guides (A) by pulling upward.
|
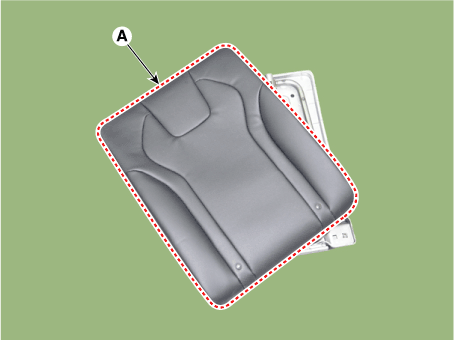
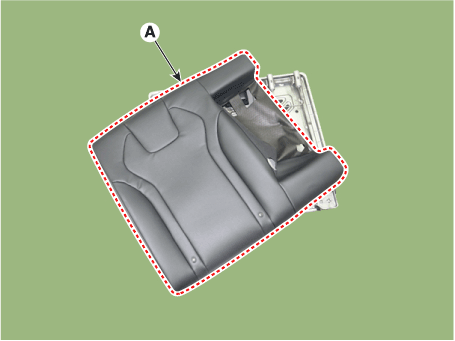
| 5. | Remove the rear seat back cover assembly (A) from the rear seat back frame.
|
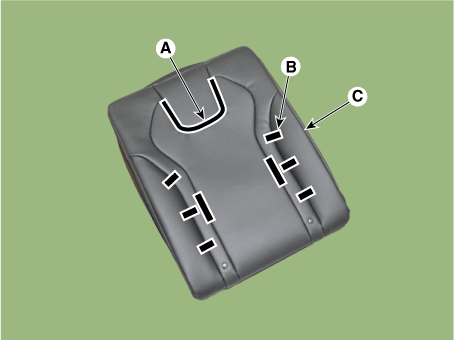
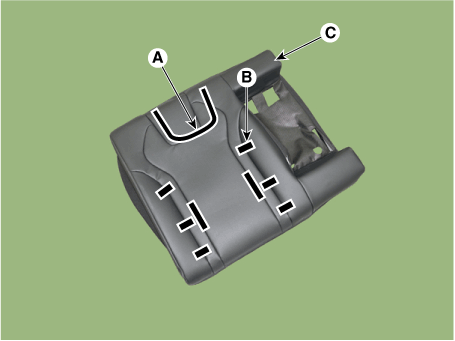
| 6. | After removing the Velcro tape (A) and tie down clips (B) inside the rear seat cushion cover, remove the seat cushion cover (C).
|
| 7. | To install, reverse the removal procedure. |
| [RH] |
|
| 1. | Remove the rear seat assembly [RH]. (Refer to Rear Seat - "Rear Seat Assembly") |
| 2. | Remove the rear back armrest. (Refer to Rear Seat - "Rear Back Armrest") |
| 3. | Push the lock pins, and remove the rear seat headrest (A).
|
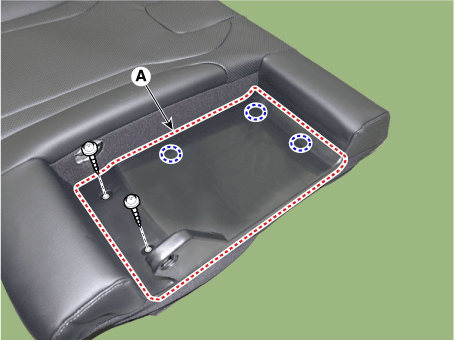
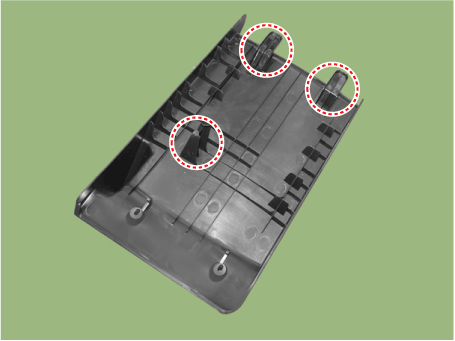
| 4. | Loosen the mounting screws, remove the rear seat armrest board (A).
|
| 5. | Using a screwdriver or remover, remove the rear seat back cover (A).
|
| 6. | Press the both hook (B) and remove the headrest guides (A) by pulling upward.
|
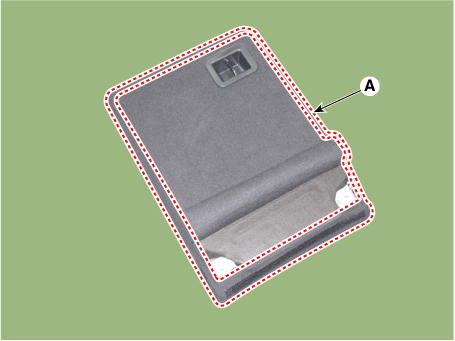
| 7. | Remove the rear seat back cover assembly (A) from the rear seat back frame.
|
| 8. | After removing the Velcro tape (A) and tie down clips (B) inside the rear seat cushion cover, remove the seat cushion cover (C).
|
| 9. | To install, reverse the removal procedure. |
Rear Seat Cushion Cover
Components and components location
| Component Location |
[General type]
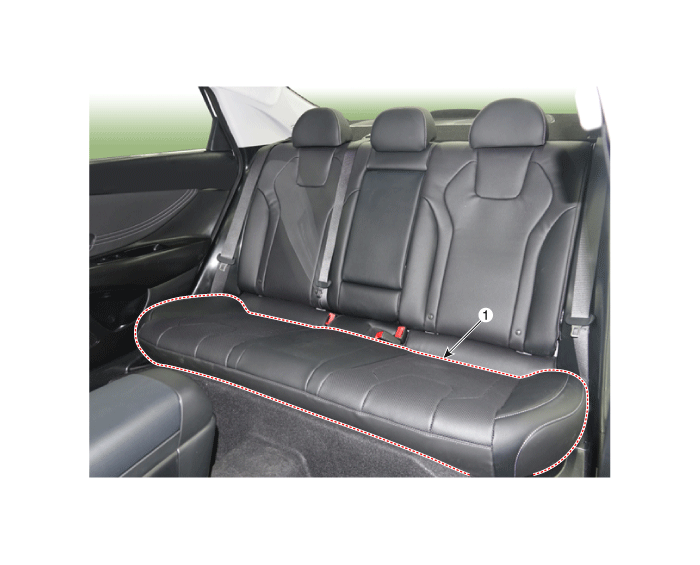
| 1. Rear seat cushion cover |
[N Line]
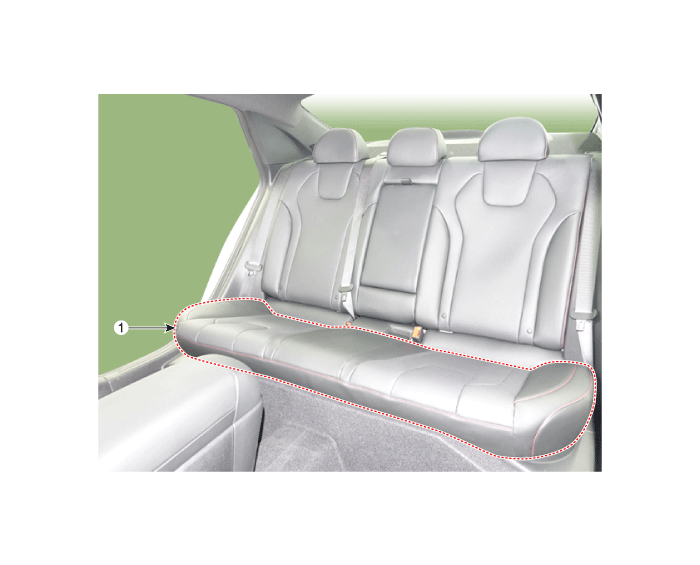
| 1. Rear seat cushion cover |
Repair procedures
| Replacement |
|
| 1. | Remove the seat cushion assembly. (Refer to Rear Seat - "Rear Seat Assembly") |
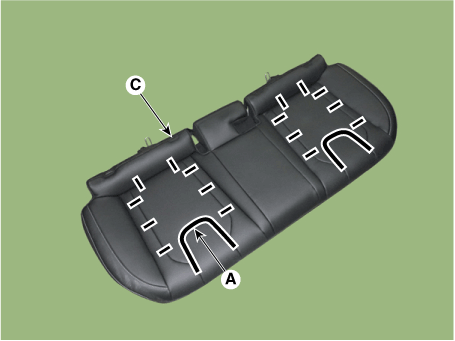
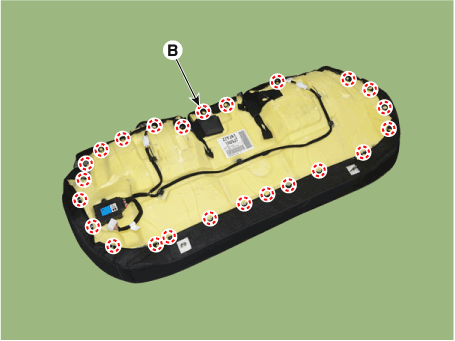
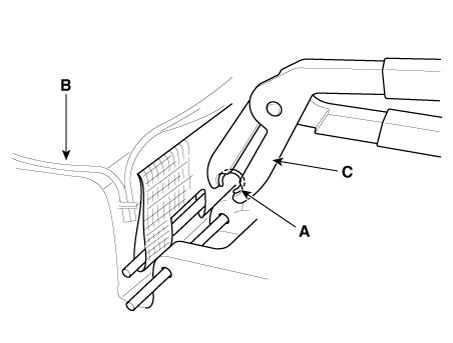
| 2. | After removing the Velcro tape (A) and hog-ring clips (B) inside the rear seat cushion cover, remove the seat cushion cover (C). [Front side]
[Rear side]
|
| 3. | To install, reverse the removal procedure.
|
Rear Back Armrest
Repair procedures
| Replacement |
|
| 1. | Fold the rear seat back assembly [LH] (A) by pulling the folding lever in the direction of the arrow.
|
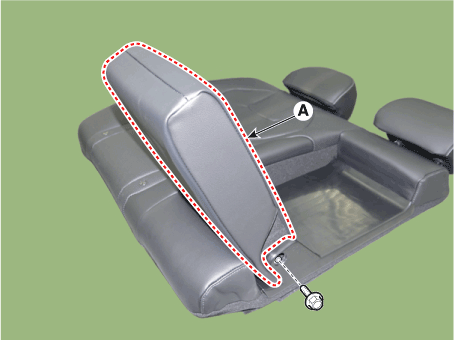
| 2. | Separate the rear back armrest (A) after removing the cap and then loosening the bolt.
|
| 3. | To install, reverse the removal procedure. |
Rear Seat Folding Lever
Components and components location
| Components |
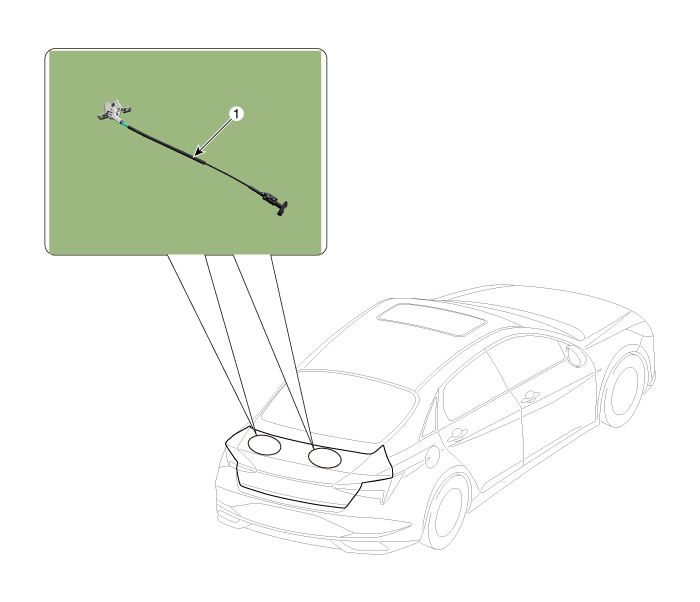
| 1.Rear seat folding lever |
Repair procedures
| Replacement |
| 1. | Fold the rear seat back assembly (A) by pulling the folding lever in the direction of the arrow.
|
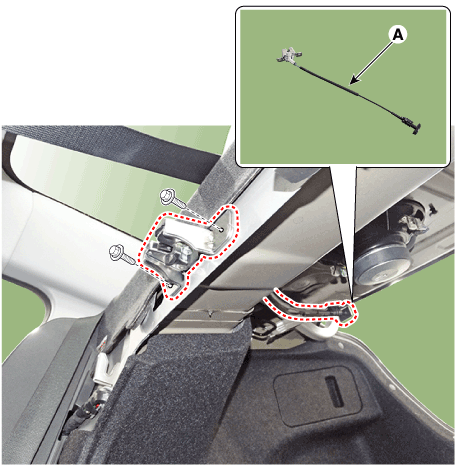
| 2. | Loosen the mounting clips and bolts, remove the rear seat folding lever (A).
|
| 3. | To install, reverse the removal procedure. |

