 Hyundai Elantra CN7: Front Seat
Front Seat Assembly
Components and components location
| Component Location |
[General type]
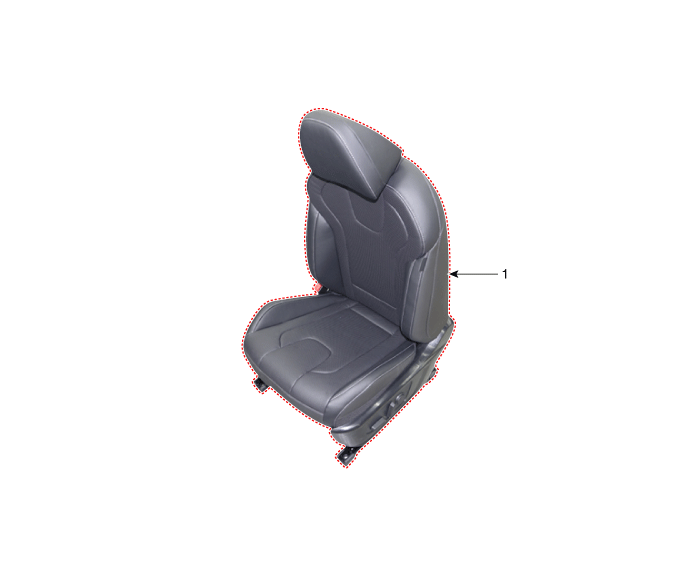
| 1. Front seat assembly |
[N Line]
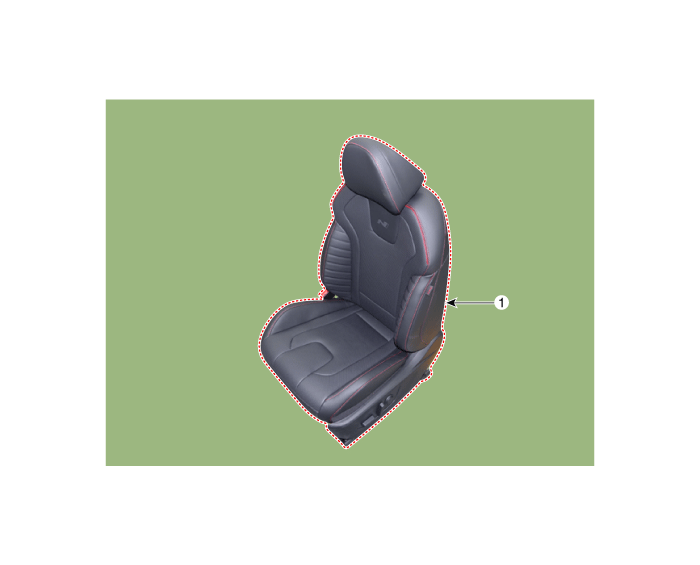
| 1. Front seat assembly |
Repair procedures
| Replacement |
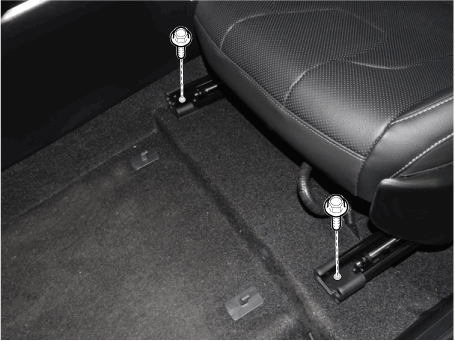
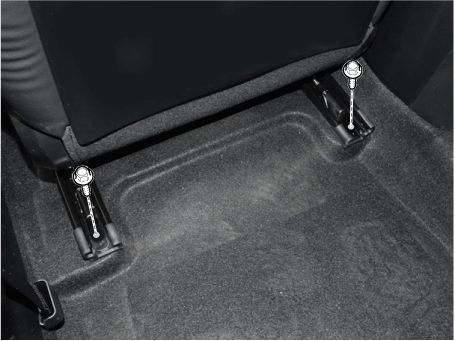
| 1. | Loosen the front seat mounting bolts.
[Front]
[Rear]
|
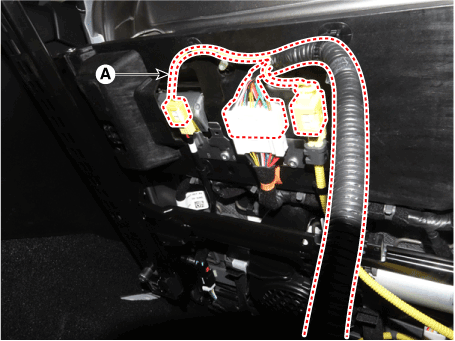
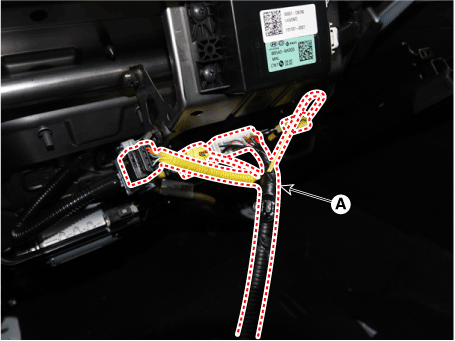
| 2. | Press the lock pin, separate the connectors (A).
|
| 3. | To install, reverse the removal procedure.
|
Front Seat Shiled Outer Cover
Components and components location
| Component Location |
[General type]
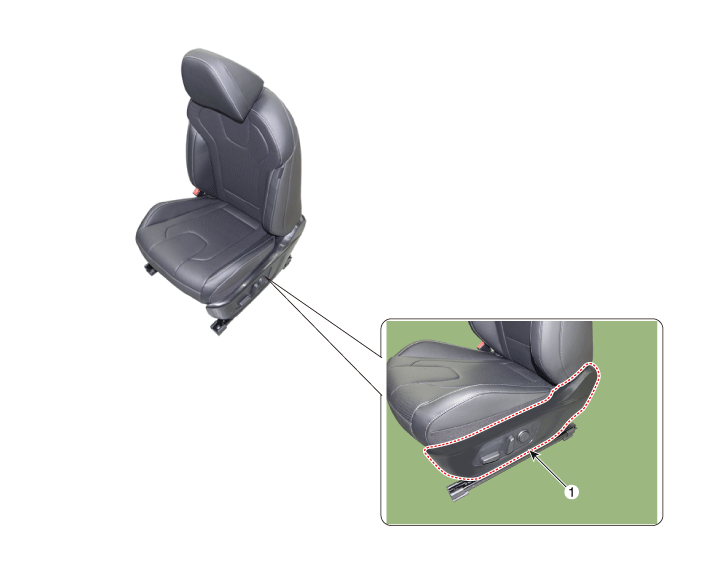
| 1. Front seat shield outer cover |
[N Line]
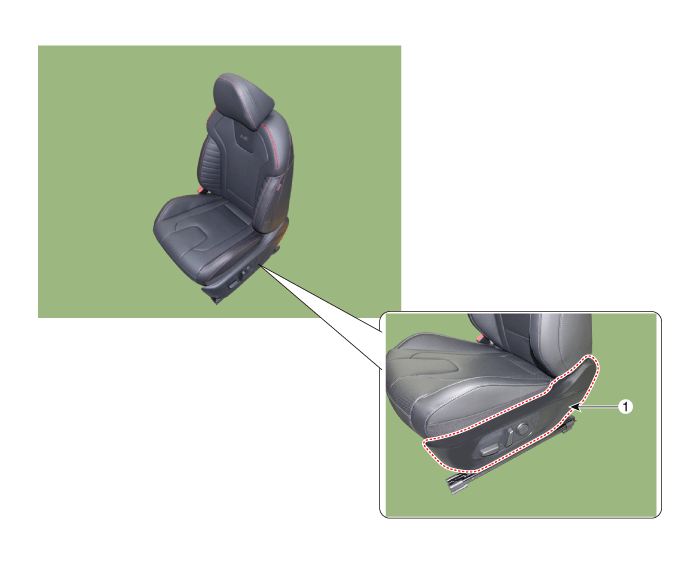
| 1. Front seat shield outer cover |
Repair procedures
| Replacement |
|
| 1. | Remove the front seat assembly. (Refer to Front Seat - "Front Seat Assembly") |
| 2. | Remove the front seat lower protector (A).
|
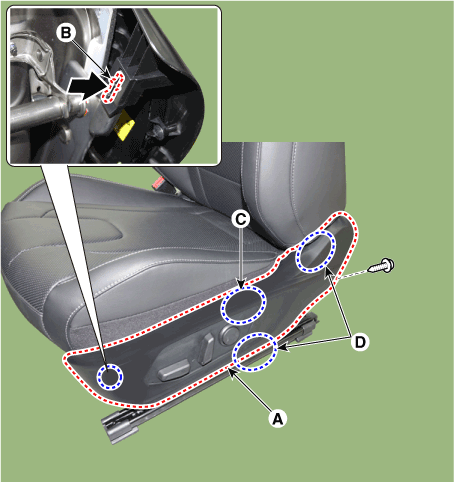
| 3. | Loosen the mounitng screw, separate the clip (C) and hook (D) and then press the lock pin (B), remove the front seat outer shield outer cover (A).
|
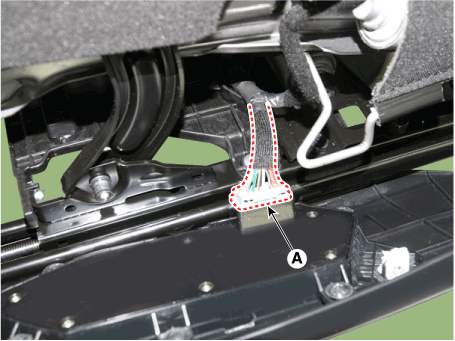
| 4. | Disconnect the front seat power switch connector (A).
|
| 5. | Install in the reverse order of removal.
|
Front Seat Shield Inner Cover
Components and components location
| Component Location |
[General type]
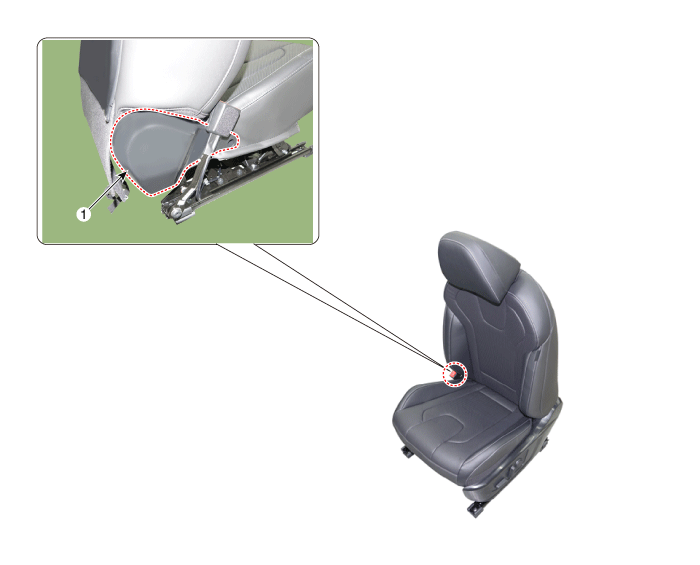
| 1. Front seat shield inner cover |
[N Line]
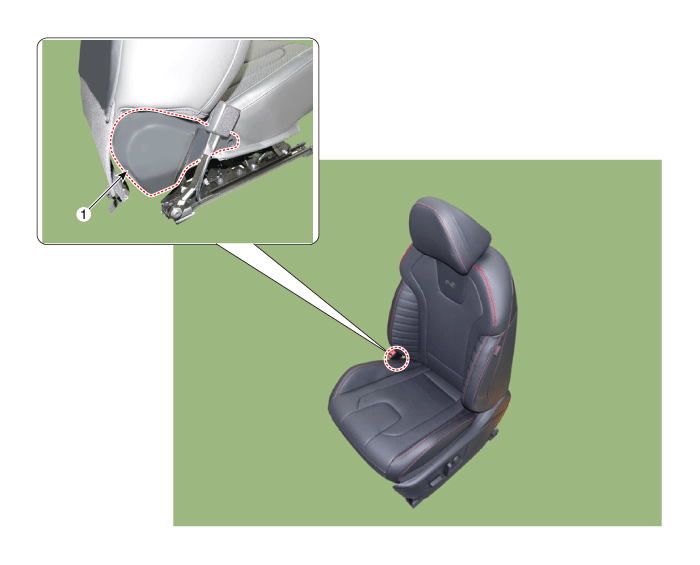
| 1. Front seat shield inner cover |
Repair procedures
| Replacement |
|
| 1. | Remove the front seat assembly. (Refer to Front Seat - "Front Seat Assembly") |
| 2. | Remove the front seat lower protector (A).
|
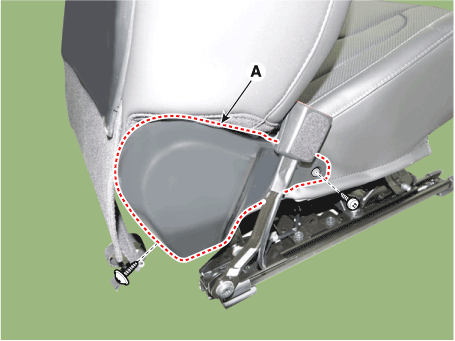
| 3. | Loosen the mounting screw and then remove the front seat outer shield inner cover (A).
|
| 4. | Install in the reverse order of removal.
|
Front Seat Back Cover
Components and components location
| Component Location |
[General type]
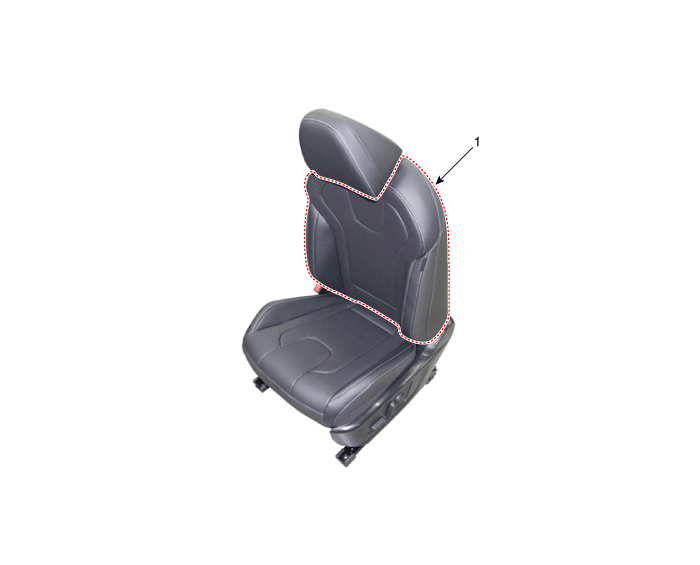
| 1. Front seat back cover |
[N Line]
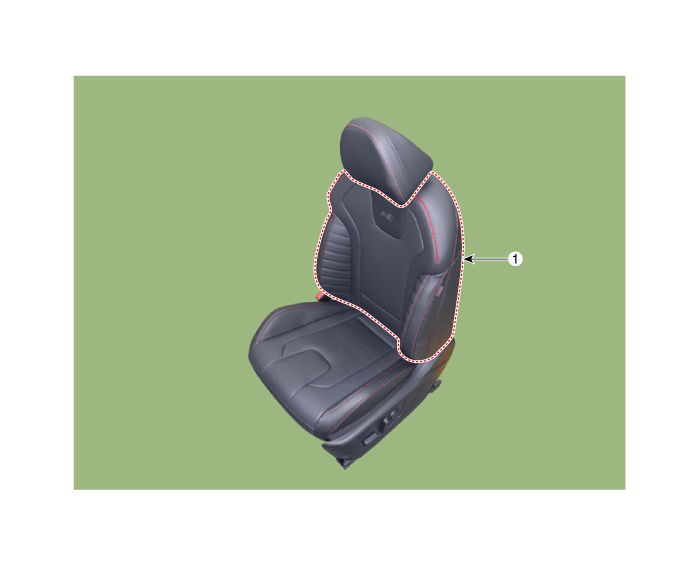
| 1. Front seat back cover |
Repair procedures
| Replacement |
|
| 1. | Remove the front seat assembly. (Refer to Front Seat - "Front Seat Assembly") |
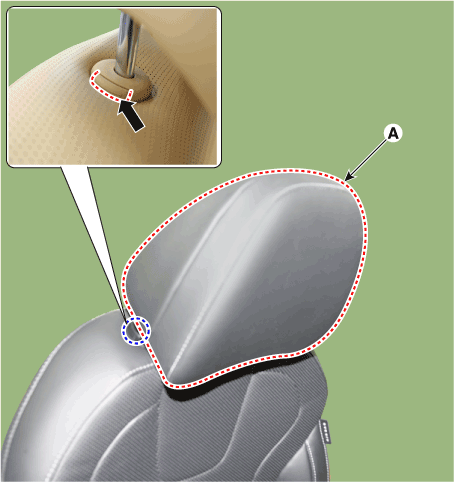
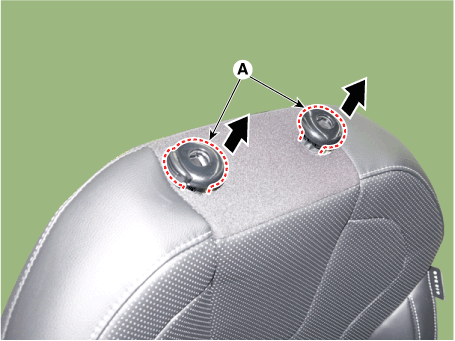
| 2. | Remove the front seat headrest (A) by pulling it upward.
|
| 3. | Remove the front seat lower protector (A).
|
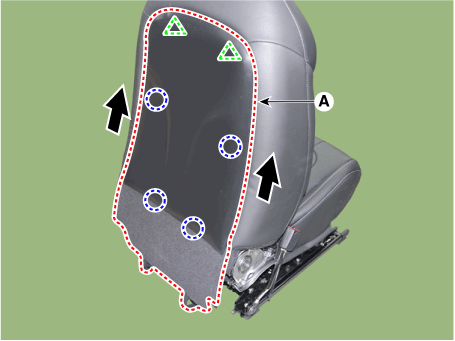
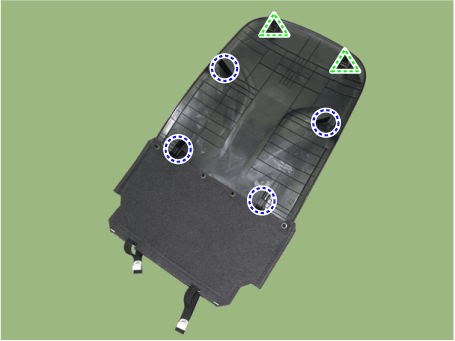
| 4. | Remove the front seat back board (A).
|
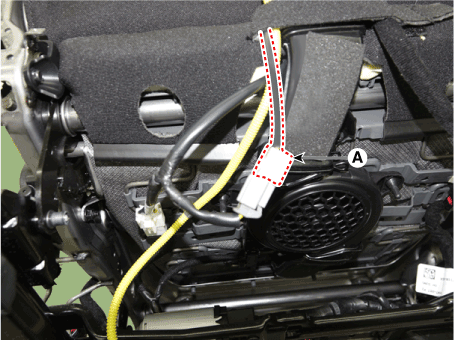
| 5. | Disconnect the front seat ventilation duct (A).
|
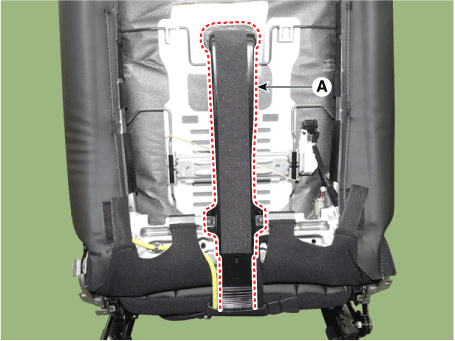
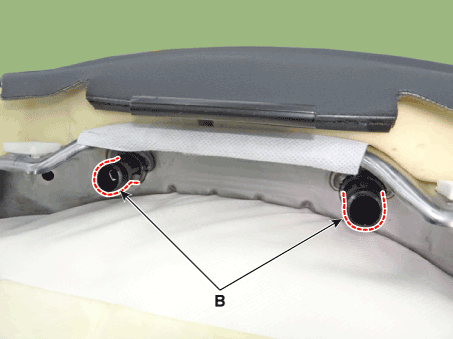
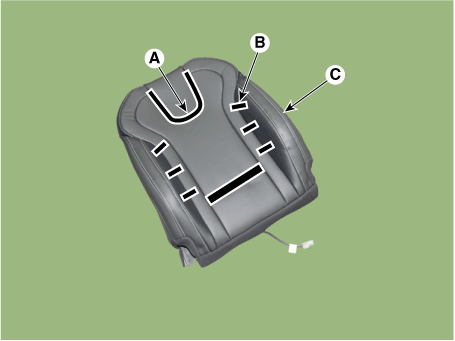
| 6. | Press the both hook (B) and remove the headrest guides (A) by pulling upward.
|
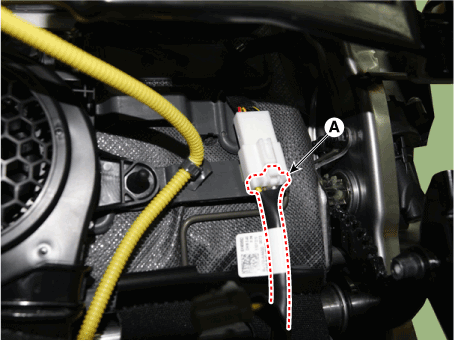
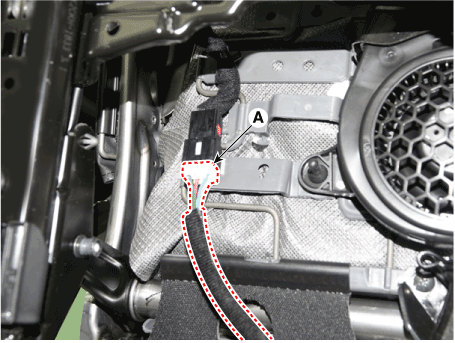
| 7. | Press the lock pin, separate the lock pin (A).
|
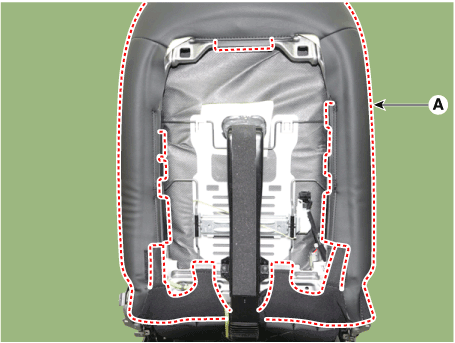
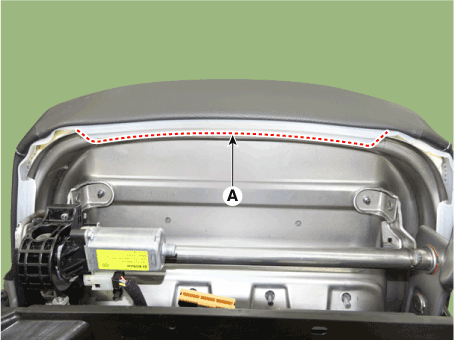
| 8. | Separate the front seat back cover protector, remove the front seat back cover (A).
|
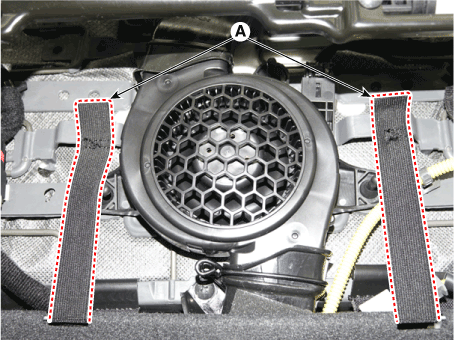
| 9. | Remove the velcro tape (A) and tie down clips (B) inside the front seat back cover and remove the seat back cover (C).
|
| 10. | Install in the reverse order of removal.
|
Front Seat Cushion Cover
Components and components location
| Component Location |
[General type]
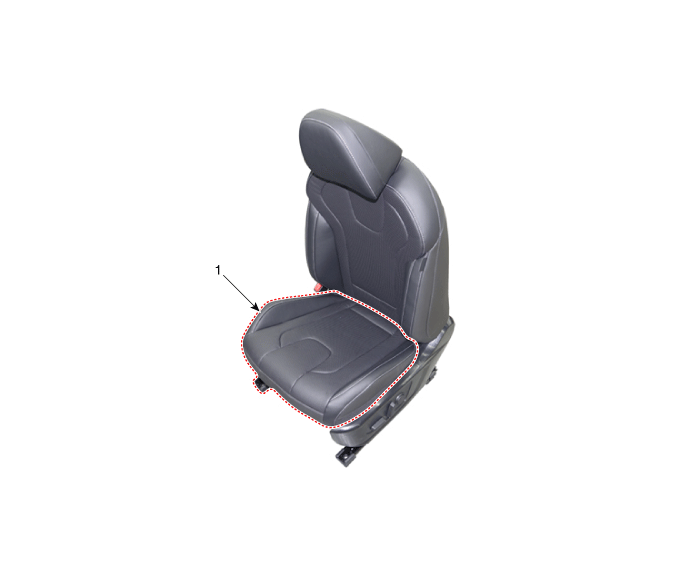
| 1. Front seat cushion cover |
[N Line]
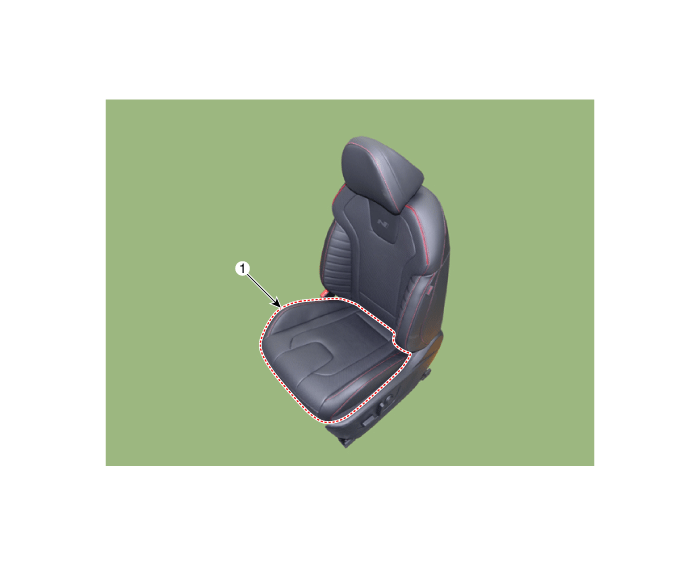
| 1. Front seat cushion cover |
Repair procedures
| Replacement |
|
| 1. | Remove the front seat assembly. (Refer to Front Seat - "Front Seat Assembly") |
| 2. | Remove the front seat shield outer cover. (Refer to Front Seat - "Front Seat Shield Outer Cover") |
| 3. | Remove the front seat shield inner cover. (Refer to Front Seat - "Front Seat Shield Inner Cover") |
| 4. | Remove the front seat lower protector (A).
|
| 5. | Press the lock pin, disconnect the front seat cushion connector (A).
|
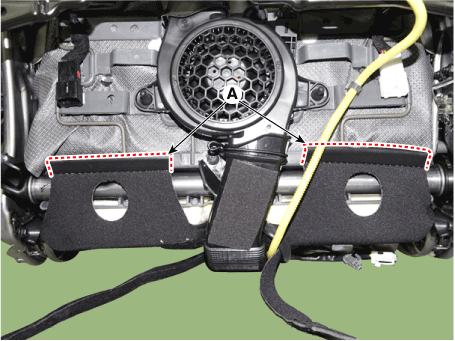
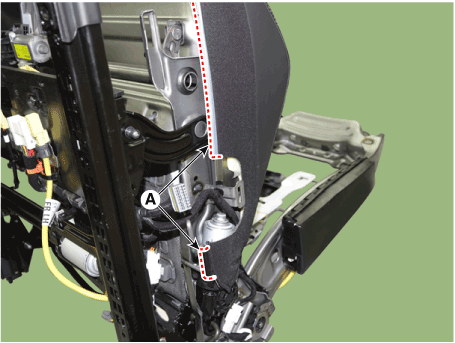
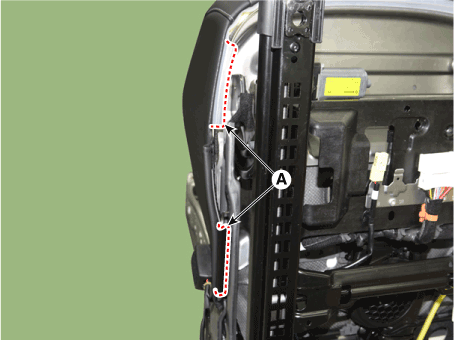
| 6. | Remove the front seat cushion cover protector (A) from the front seat cushion frame. [Upper]
[Lower]
[LH]
[RH]
|
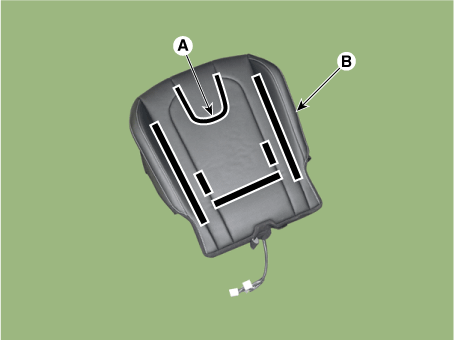
| 7. | After removing the velcro tape (A) and remove the seat cushion cover (B).
|
| 8. | Install in the reverse order of removal.
|
Front Seat Frame Assembly
Components and components location
| Component Location |
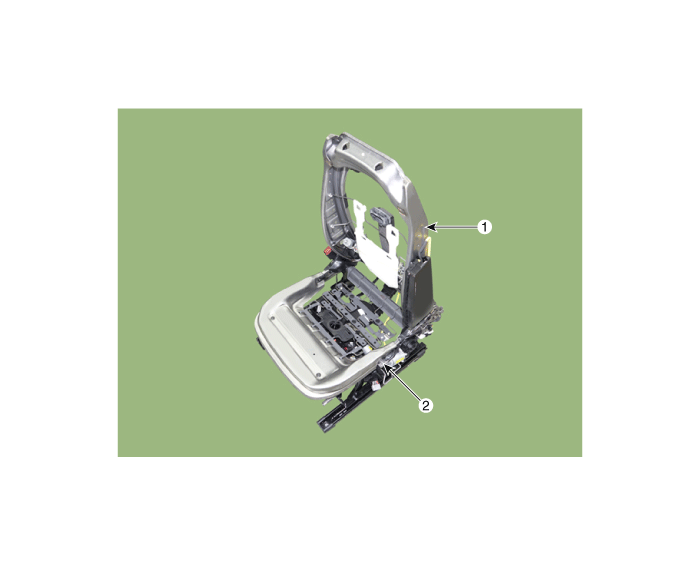
| 1. Front seat back frame assembly | 2. Front seat cushion frame assembly |
Repair procedures
| Replacement |
|
|
| 1. | Remove the front seat back cover. (Refer to Front Seat - "Front Seat Back Cover") |
| 2. | Remove the front seat cushion cover. (Refer to Front Seat - "Front Seat Cushion Cover") |
| 3. | Remove the side airbag (SAB) module. (Refer to Airbag Module - "Side Airbag (SAB) Module") |
| 4. | Remove the lumbar support assembly. (Refer to Body Electrical System - "Lumbar Support Unit") |
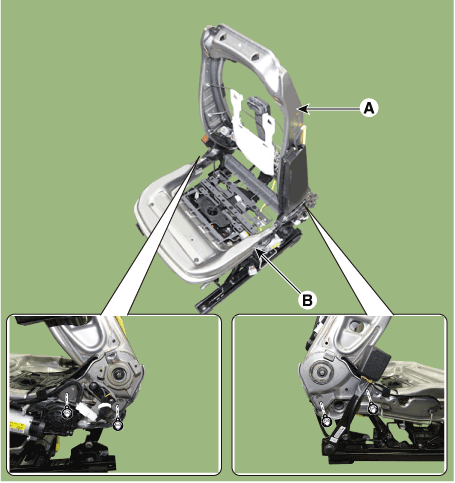
| 5. | After loosening the mounting bolts, detach the front seat back frame assembly (A) from the front seat cushion frame assembly (B).
|
| 6. | To install, reverse the removal procedure.
|

