 Hyundai Elantra CN7: Rear Bumper
Components and components location
| Component Location |
[General type]
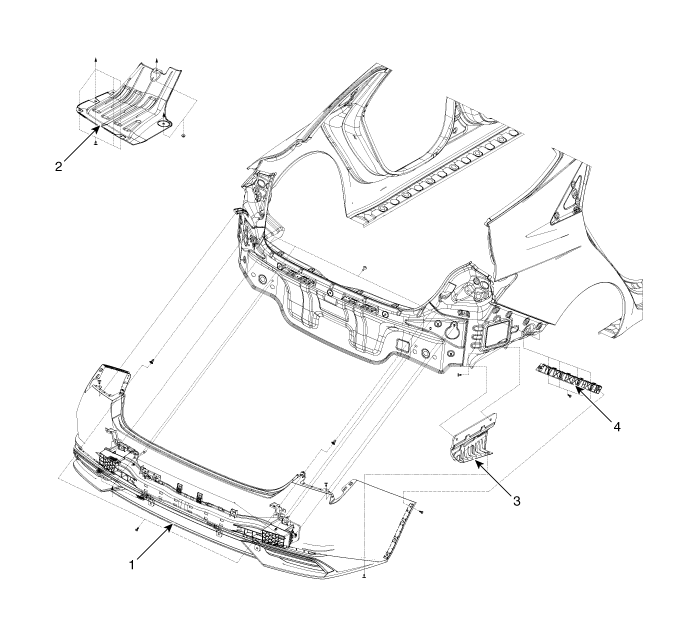
| 1. Rear bumper assembly 2. Rear bumper under cover [LH] | 3. Rear bumper under cover [RH] 4. Rear bumper side bracket |
[N Line]
| 1. Rear bumper assembly 2. Rear bumper side bracket 3. Rear bumper under cover [LH] | 4. Rear bumper under cover [CTR] 5. Rear bumper under cover [RH] |
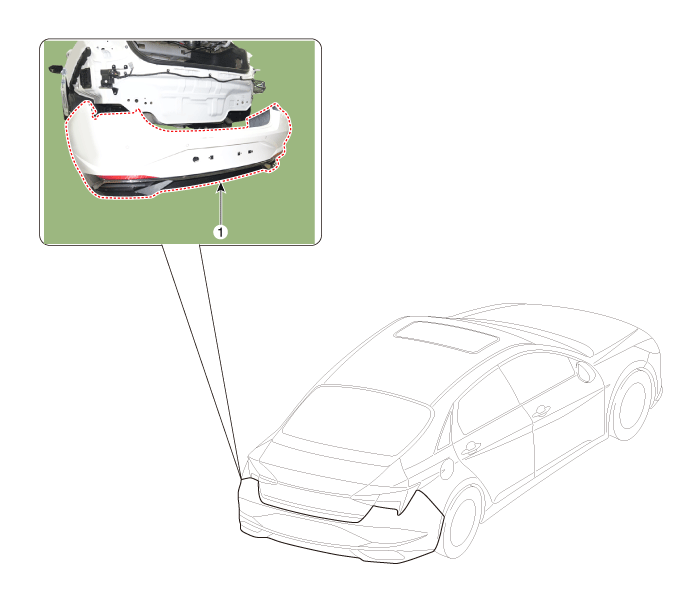
Rear Bumper Assembly
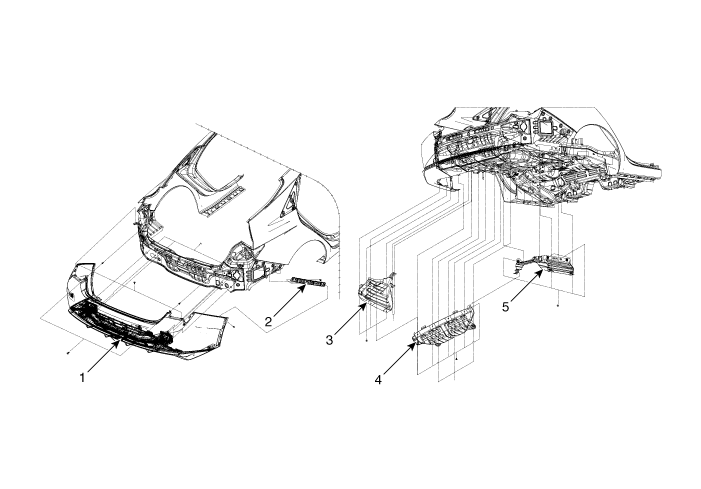
Components and components location
| Component Location |
| 1. Rear bumper assembly |
Repair procedures
| Replacement |
|

|

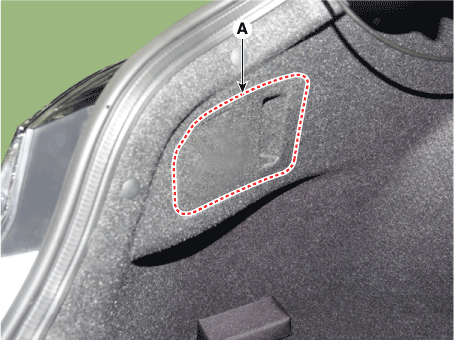
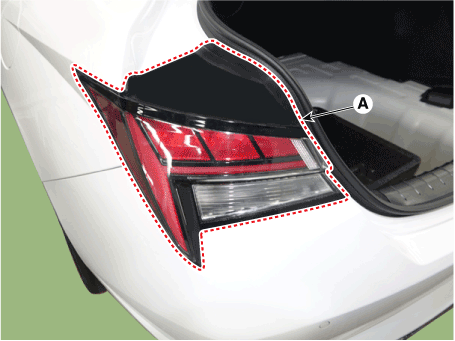
| 1. | Using a screwdriver or remover, remove the service cover (A).
|
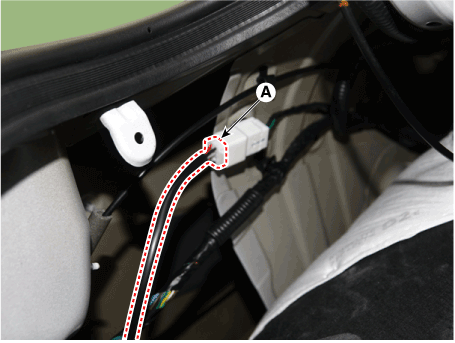
| 2. | Detach the rear combination lamp connector (A).
|
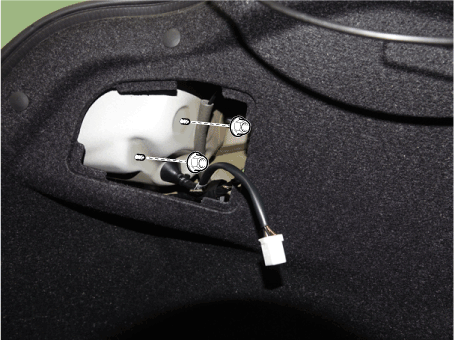
| 3. | Remove the rear combination mounting nuts and remove the rear combination lamp (A).
|
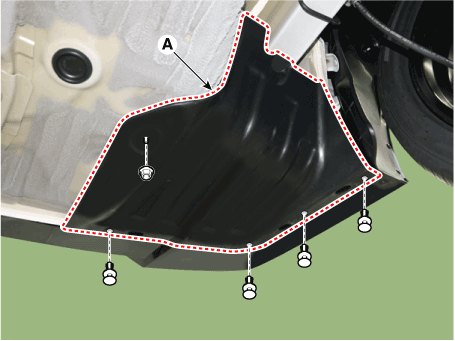
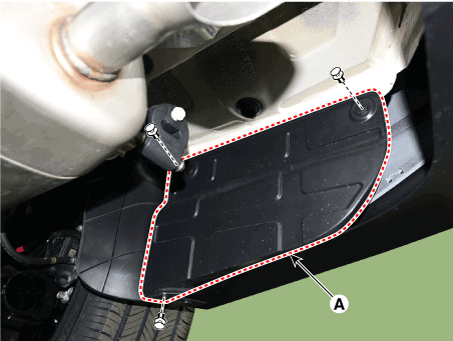
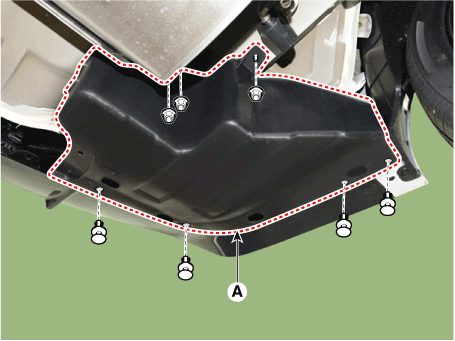
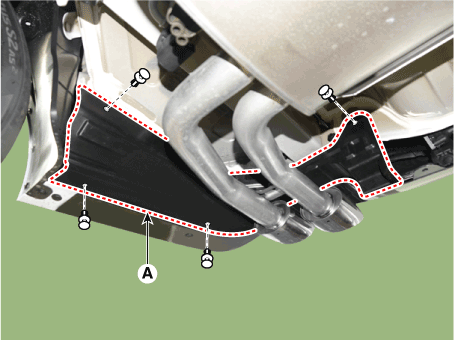
| 4. | Loosen the mounting nuts and clips, remove the rear bumper under cover (A). [General type] [LH]
[RH]
[N Line] [CTR]
[LH]
[RH]
|

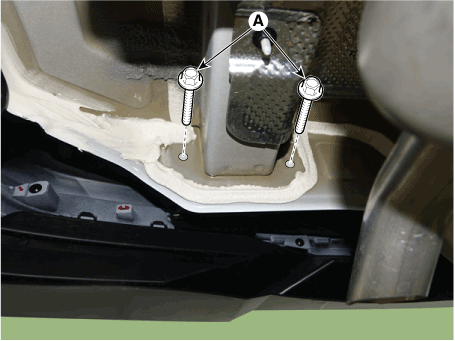
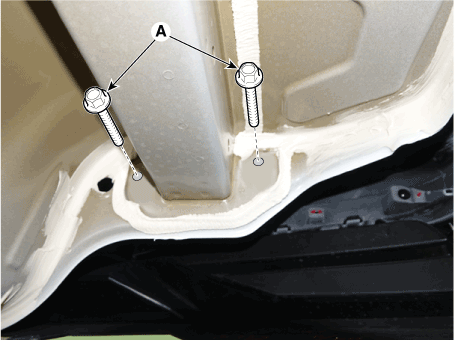
| 5. | Loosen the rear bumper assembly mounting bolts (A). [LH]
[RH]
|
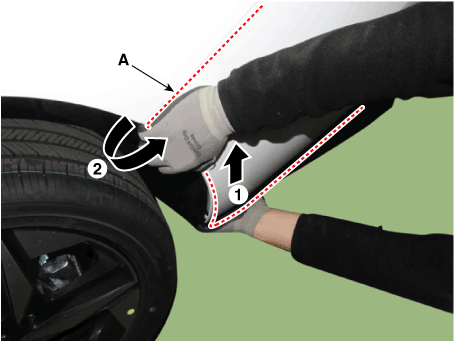
| 6. | Loosen the rear bumper lower mounting clips.
|

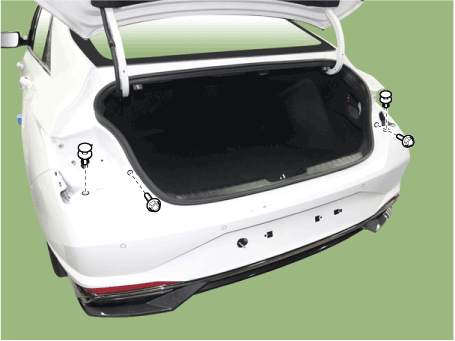
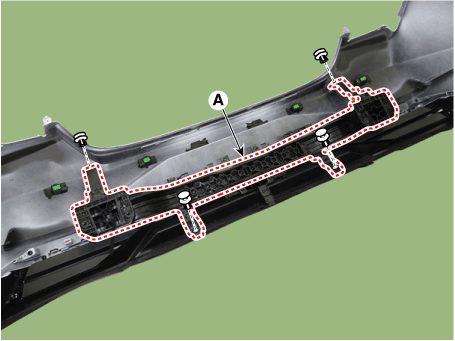
| 7. | Remove the rear bumper upper mounting clips and bolts.
|
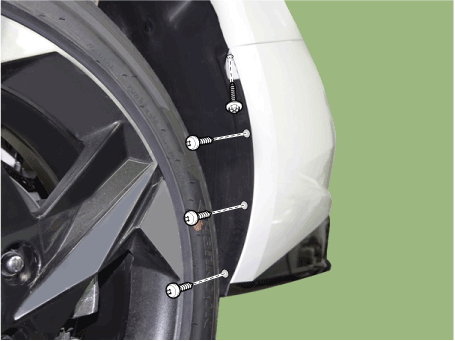
| 8. | Loosen the mounting screws on the side of rear bumper (A), detach the side part of rear bumper.
|
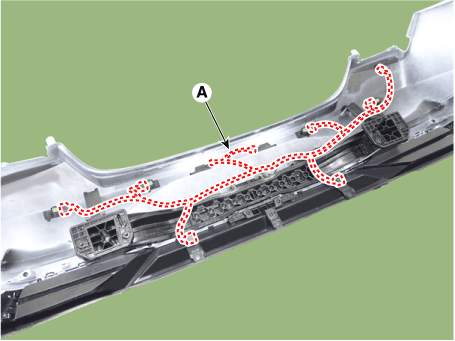
| 9. | Disconnect the rear bumper connector (A).
|

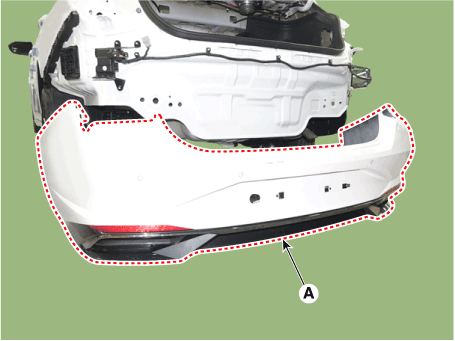
| 10. | Remove the rear bumper assembly (A).
|
| 11. | Install in the reverse order of removal.
|
Rear Bumper beam Assembly
Components and components location
| Component Location |
| 1. Rear bumper beam assembly |
Repair procedures
| Replacement |
|
|
| 1. | Remove the rear bumper assembly. (Refer to Rear Bumper - "Rear Bumper Assembly") |
| 2. | Press the lock pin, then detach the connector, remove the wiring hanes (A).
|
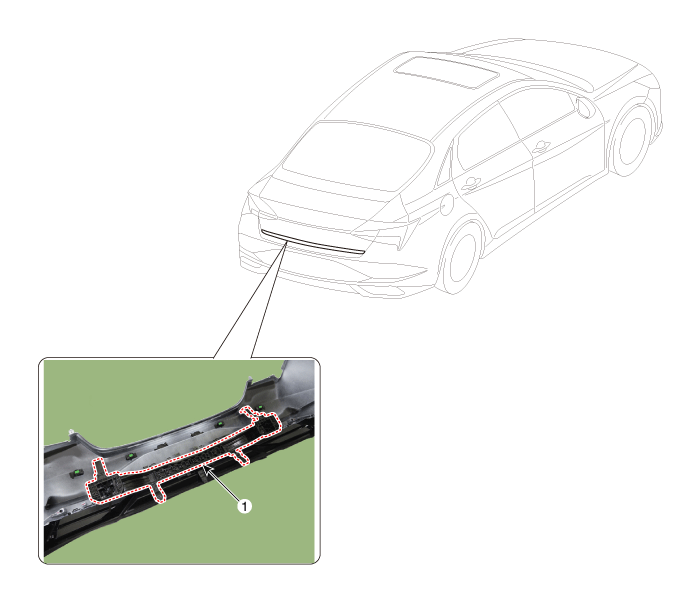
| 3. | Remove fixing clips, then remove the rear bumper beam assembly (A).
|
| 4. | Install in the reverse order of removal.
|


