Repair procedures
| 1. | After loosening the hinge (A) mounting bolt, adjust the hood (B) by moving it up and down or from side to side and tighten the bolt. |
| 2. | Adjust the hood height by moving the hood overslam bumpers (C) up and down. |
| 3. | After loosening the hood latch (D) mounting bolts, adjust the latch by moving it up and down or from side to side. 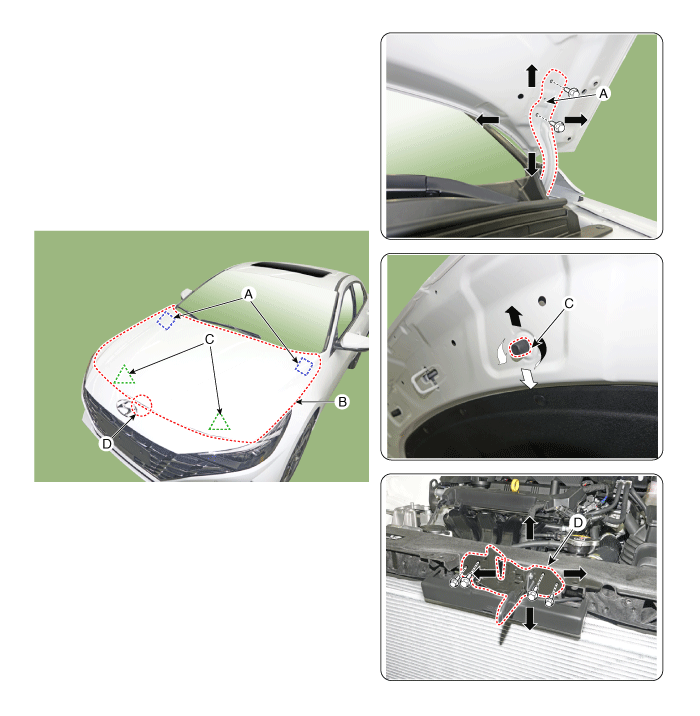
|
Hood Assembly
Components and components location
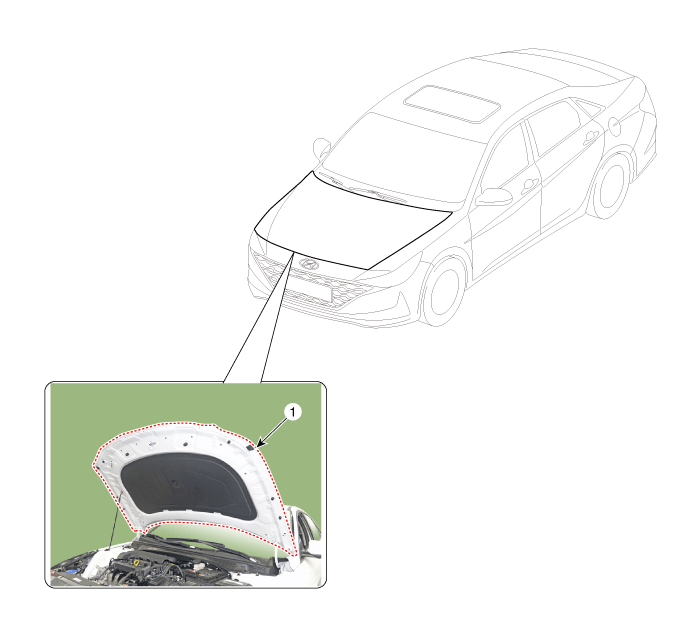
Repair procedures
| •
| Removing or installing the hood requires an assistant. |
|
| •
| Be careful not to damage the hood and body. |
|
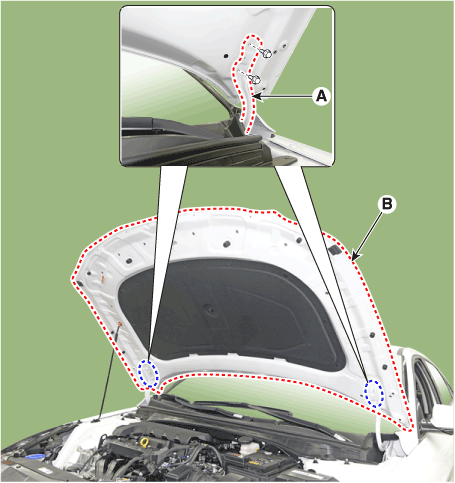
| 1. | After loosening the hood hinge (A) mounting bolts, remove the hood assembly (B). Tightening torque : 21.6 - 26.5 N.m (2.2 - 2.7 kgf.m, 15.9 - 19.5 lb-ft) |
|
| 2. | To install, reverse the removal procedure. | •
| Make sure the hood locks / unlocks and opens / closes properly. |
| •
| Adjust the hood alignment. |
|
|
Hood Insulator Pad
Repair procedures
| •
| Be careful not to scratch the hood panel. |
|
| 1. | Using a clip remover, remove the clips and then the hood insulator pad (A). 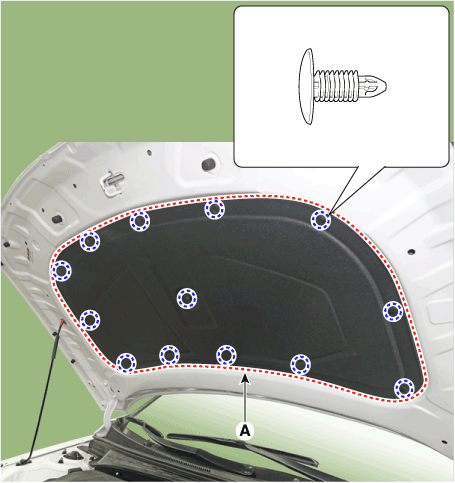
|
| 2. | To install, reverse the removal procedure. | •
| Replace any damaged clips (or pin - type retainers). |
|
|
Hood Latch Release Handle
Components and components location
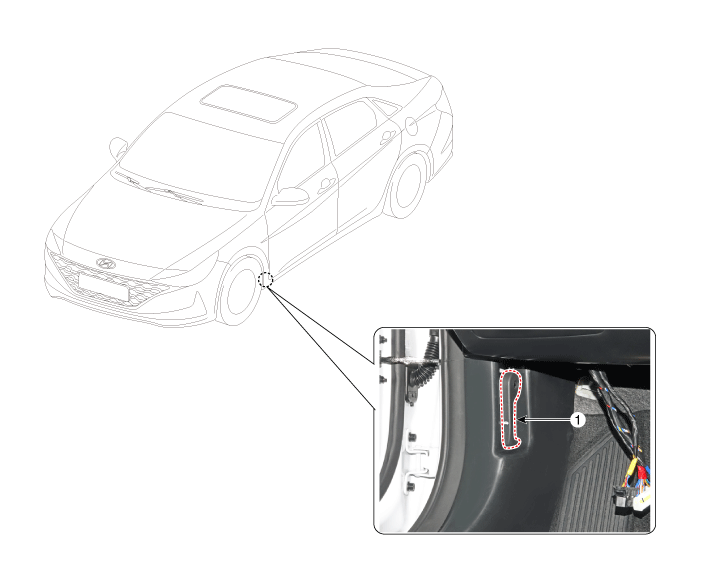
1. Hood latch release handle
|
|
Repair procedures
| 1. | Using screw driver or remover, remove the hood release handle (A). 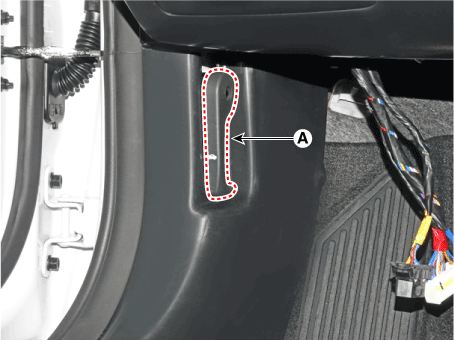
|
| 2. | To install, reverse the removal procedure. | •
| Make sure the hood latch cable is connected properly. |
| •
| Make sure the hood locks / unlocks and opens / closes properly. |
|
|
Hood Latch
Components and components location
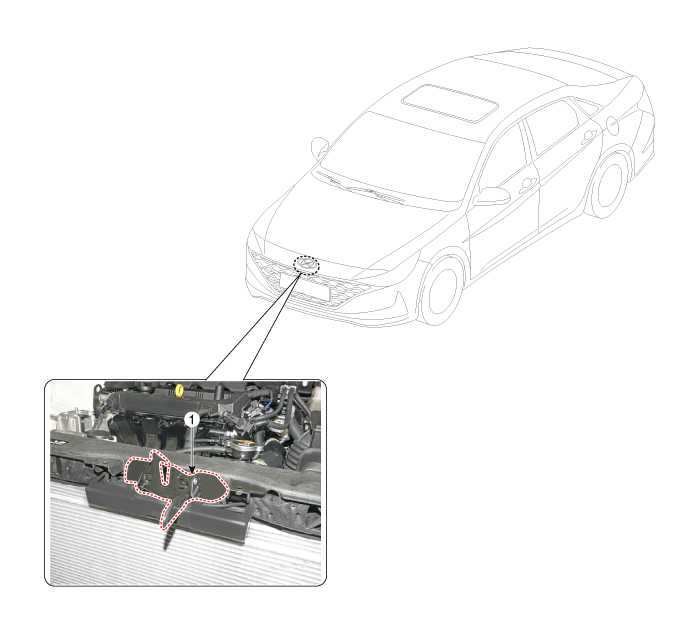
Repair procedures
| 1. | Remove the front bumper. (Refer to Front Bumper - "Front Bumper Assembly") |
| 2. | Disconnect the connector (A), then remove the wiring mounting clips. 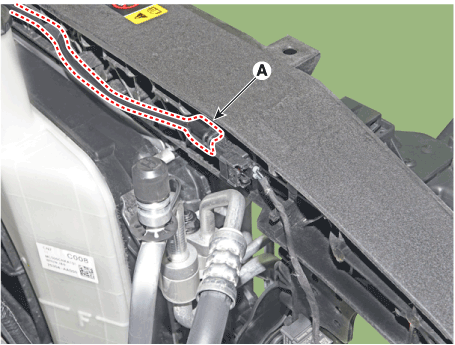
|
| 3. | Disconnect the hood latch release cable (A). 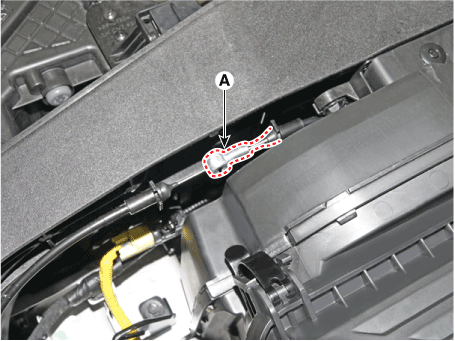
|
| 4. | Loosen the mounting bolts and remove the hood latch assembly (A). Tightening torque : 7.8 - 11.8 N.m (0.8 - 1.2 kgf.m, 5.8 - 8.7 lb-ft) |
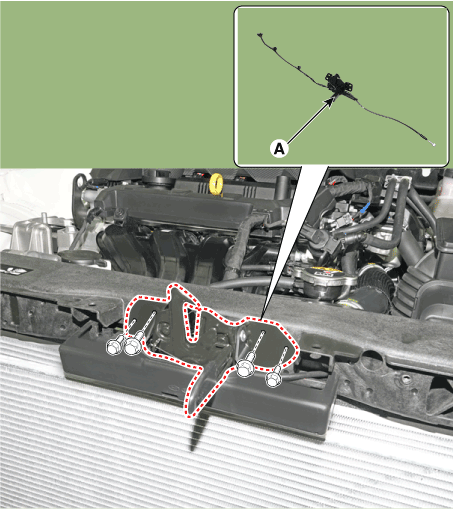
|
| 5. | To install, reverse the removal procedure. | •
| Make sure the hood latch release cable is connected properly. |
| •
| Make sure the hood locks / unlocks and opens / closes properly. |
| •
| Adjust the latch alignment. |
| •
| Replace any damaged clips (or retainers or fasteners). |
|
|
Hood Weatherstrip
Repair procedures
| 1. | Remove the hood weatherstrip (A). 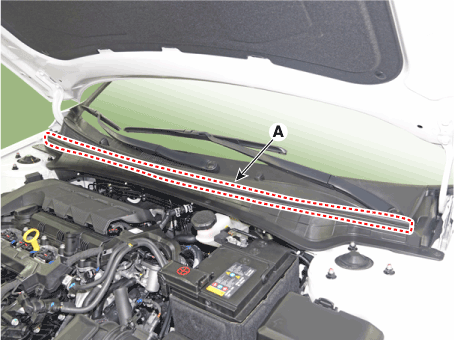
| •
| Be careful not to scratch the hood weatherstrip. |
|
|
| 2. | To install, reverse the removal procedure. |
Components and components location
Component Location1. Fender assembly
Repair procedures
Replacement
•
When removing the fender, wrap protectiv ...
Repair procedures
Adjustment1.Place the car on a flat surface and check whether the body and trunk lid are well - aligned.2.After loosening the trunk lid hinge (A) mounting bolt, adjust the trunk l ...
 Hyundai Elantra CN7: Hood


