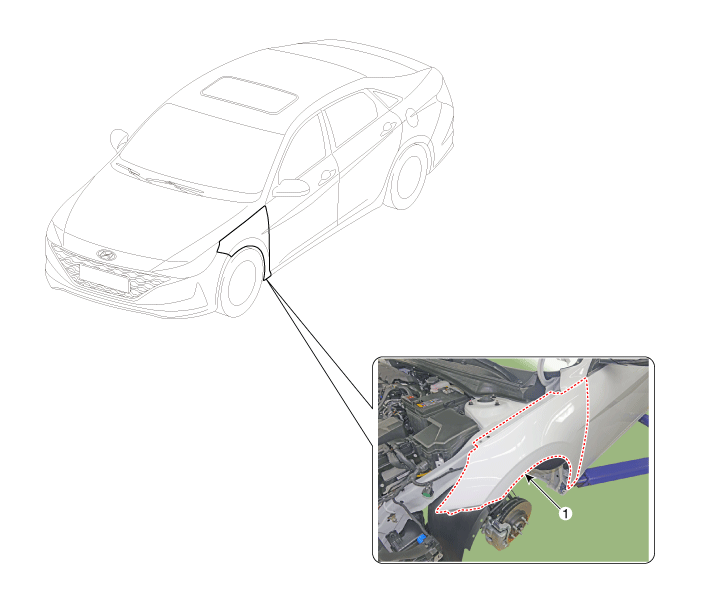
Components and components location

Repair procedures
| •
| When removing the fender, wrap protective tape around a screwdriver or remover not to damage components |
| •
| Put on gloves to prevent hand injuries |
|
| 1. | Remove the front bumper. (Refer to Front Bumper - "Front Bumper Assembly") |
| 2. | Remove the head lamps. (Refer to Body Electrical System - "Head Lamps") |
| 3. | Remove the front wheel guard. (Refer to Body Side Molding - "Front Wheel Guard") |
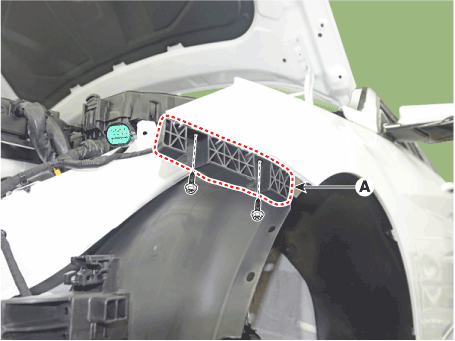
| 4. | Remove the front bumper side mounthing bracket (A) after loosening the bolts. 
|
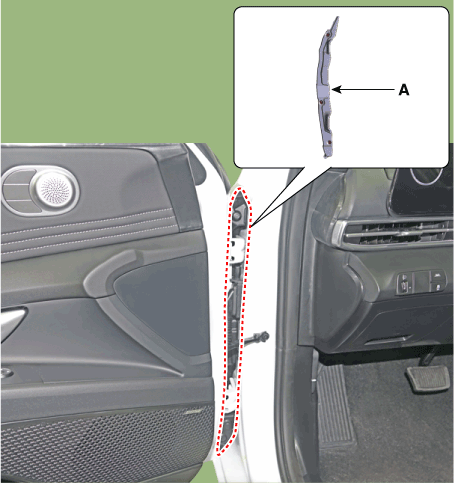
| 5. | Loosen the mounting clips and remove the insulator cover (A). 
|
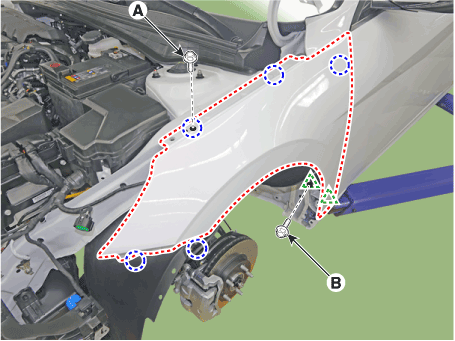
| 6. | After loosening the mounting bolts, remove the fender assembly. Tightening torque : Bolt A : 7.8 - 18.6 N.m (0.8 - 1.9 kgf.m, 5.8 - 13.7 lb-ft) Bolt B : 4.9 - 7.8 N.m (0.5 - 0.8 kgf.m, 3.6 - 5.8 lb-ft) |

|
| 7. | To install, reverse the removal procedure. | •
| Replace any damaged clips (or pin - type retainers). |
|
|
Special Service Tools
Tool (Number and name)
Illustration
Use
09880 - 4F000Hog ring clip installerHog ring clip install ...
Repair procedures
Adjustment1.After loosening the hinge (A) mounting bolt, adjust the hood (B) by moving it up and down or from side to side and tighten the bolt.2.Adjust the hood height by moving ...
 Hyundai Elantra CN7: Fender


