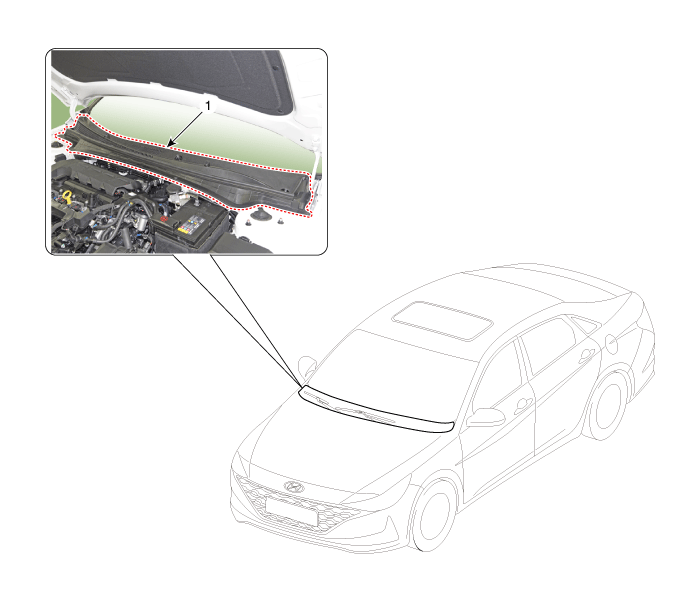
Components and components location
Repair procedures
| 1. | Remove the plug hole (A). 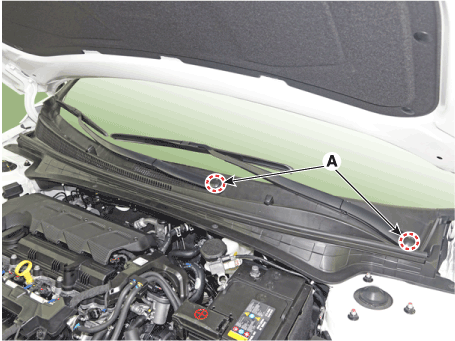
|
| 2. | Loosen the mounting nuts and remove the wiper arm (A). Tightening torque : 22.6 - 26.5 N.m (2.3 - 2.7 kgf.m, 16.6 - 19.5 lb-ft) |
|
| 3. | Disconnect the washer nozzle (A). |
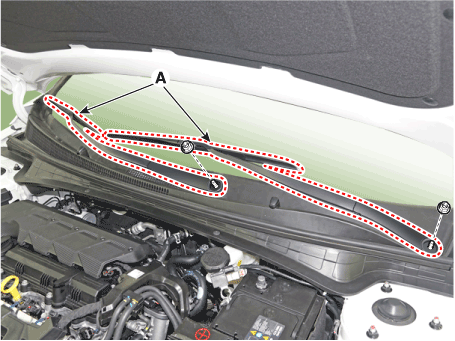
| 4. | Detach the clips, then remove the cowl top cover (B). 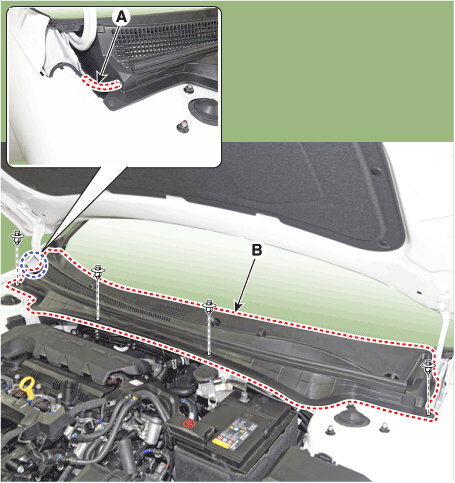
|
| 5. | To install, reverse the removal procedure. | •
| Replace any damaged clips (or pin - type retainers). |
|
|
Outside Rear View Mirror
Components and components location
Component Location 1. Outside rear view mirror
Repair procedures
Replacement
•
When ...
Components and components location
Components[This illustration shows the LHD type. RHD type is symmetrical.]1. Floor console side cover [LH]2. Floor console side cover [RH]3. Floor console upper c ...
 Hyundai Elantra CN7: Cowl Top Cover


