 Hyundai Elantra CN7: Head Lamp Leveling Device
Components and components location
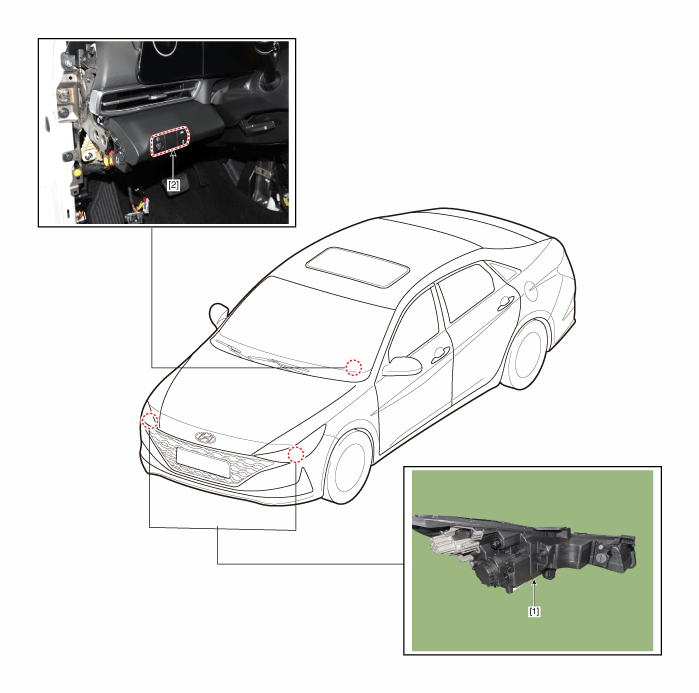
| Component Location |

| 1. Head lamp leveling actuator | 2. Head lamp leveling switch |
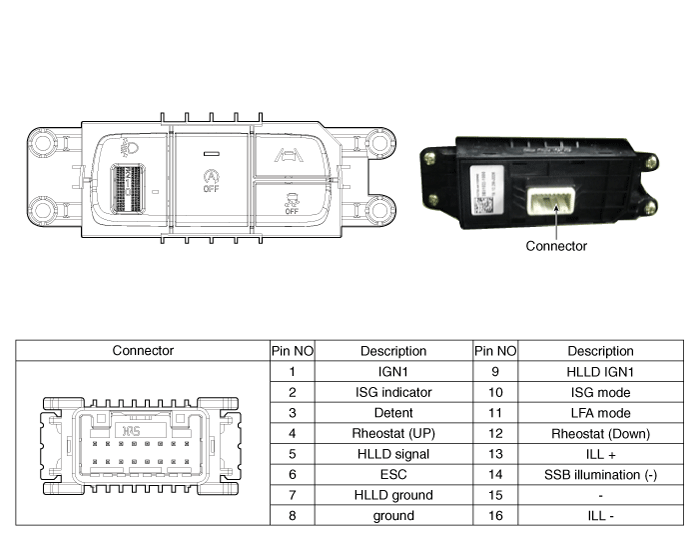
Head Lamp Leveling Switch
Schematic diagrams
| Schematic Diagrams |

Repair procedures
| Replacement |
| 1. | Disconnect the negative (-) battery terminal. |
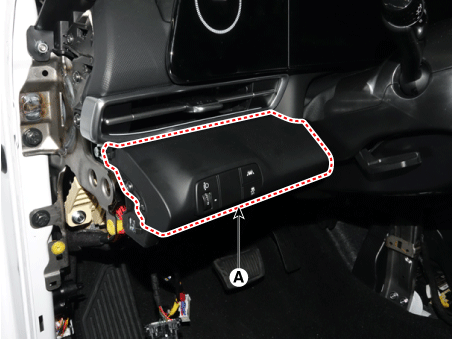
| 2. | Remove the crash pad lower panel (A). (Refer to Body - "Crash Pad Lower Panel") |
| 3. | Loosen the mounting screw and remove the crash pad lower switch (A).
|
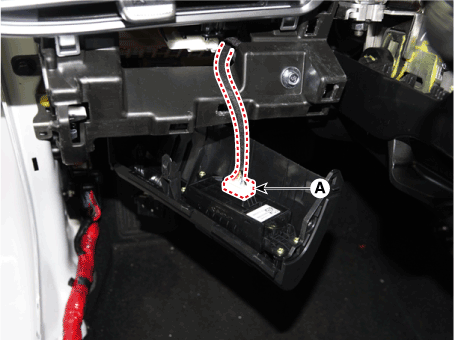
| 4. | Disconnect the crash pad lower switch connector (A).
|
| 5. | To install, reverse the removal procedure. |


